Zipped Vinyl Pouch
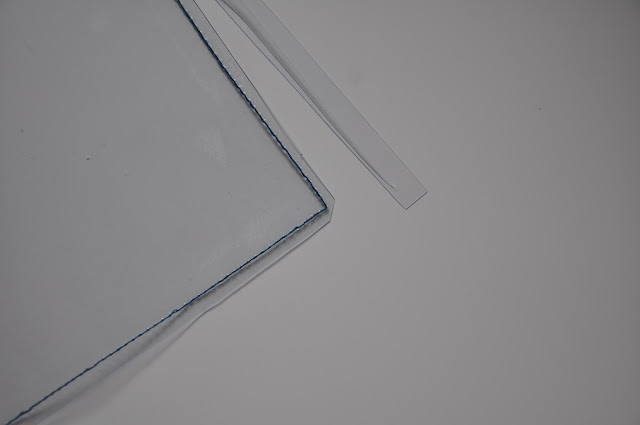
These instructions are to make a clear vinyl pouch
with a zipped top and a handy strap.
The finished size is 8” (20cm) wide and 10” (25cm) long.
Materials
·
2
pieces of 9” x 9” (23cm x 23cm) clear vinyl
· 10” x 10” (25cm x 25cm) piece of material
· 8” (20cm) zip
· Zipper foot
· Matt Masking tape
· 10” x 10” (25cm x 25cm) piece of material
· 8” (20cm) zip
· Zipper foot
· Matt Masking tape
Tools
·
Sewing
kit
·
Clips
or paper clips
·
Teflon
sewing foot (optional)
Tips for Sewing
Vinyl
1.
To prevent the vinyl sticking to your
machine, attach masking tape to either side of the feed dogs
2.
Use
either a Teflon foot, or, alternatively stick masking take to the bottom of
your ordinary sewing foot, remembering to cut a hole into the tape to let the
needle go through
3.
Use
either a 90/14 sharp or 90/14 jeans needle in your machine
4.
Never
use pins to hold the pieces together, but use clips instead. Paper clips, small bull dog clips or
pegs will do
5.
Press
final with a warm iron, covering it in at least 2 layers of cloth (a tea towel
should be enough)
Cutting out the Material
·
Cut
out 1 piece of material 9” (23cm) x 2” (5cm) (piece a)
·
Cut
out 1 piece of material 9” (23cm)x 4½” (11½ cm) (piece b)
·
Cut
out 1 piece 10” (25cm) x 2” (5cm) (strap)
Making up
1.
Press all long edges under by ½”. Further press the strap in half
2.
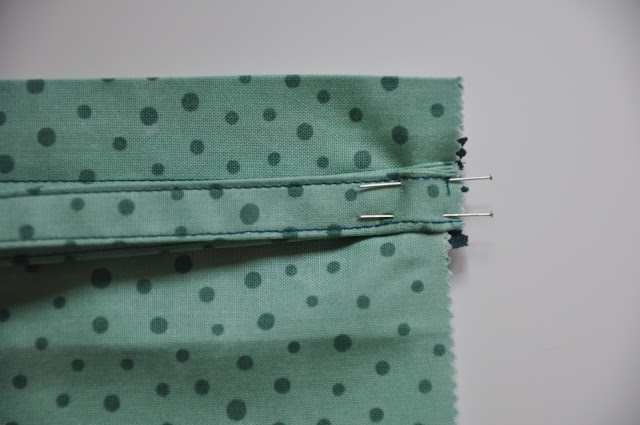
Sew pieces (a) and (b) either side of the
zip. Top stitch them in place using
the zipper foot and ensuring the ends are even
3.
Edge
stitch the strap
4.
Attach
the strap to the pull end of the zip
6.
Open
the zip
7.
Stitch
around the pouch using a ½” seam allowance, ensure you match the material edges
8. Clip the corners and seams and turn right side out
through the open zip. Press and
enjoy


No comments:
Post a Comment